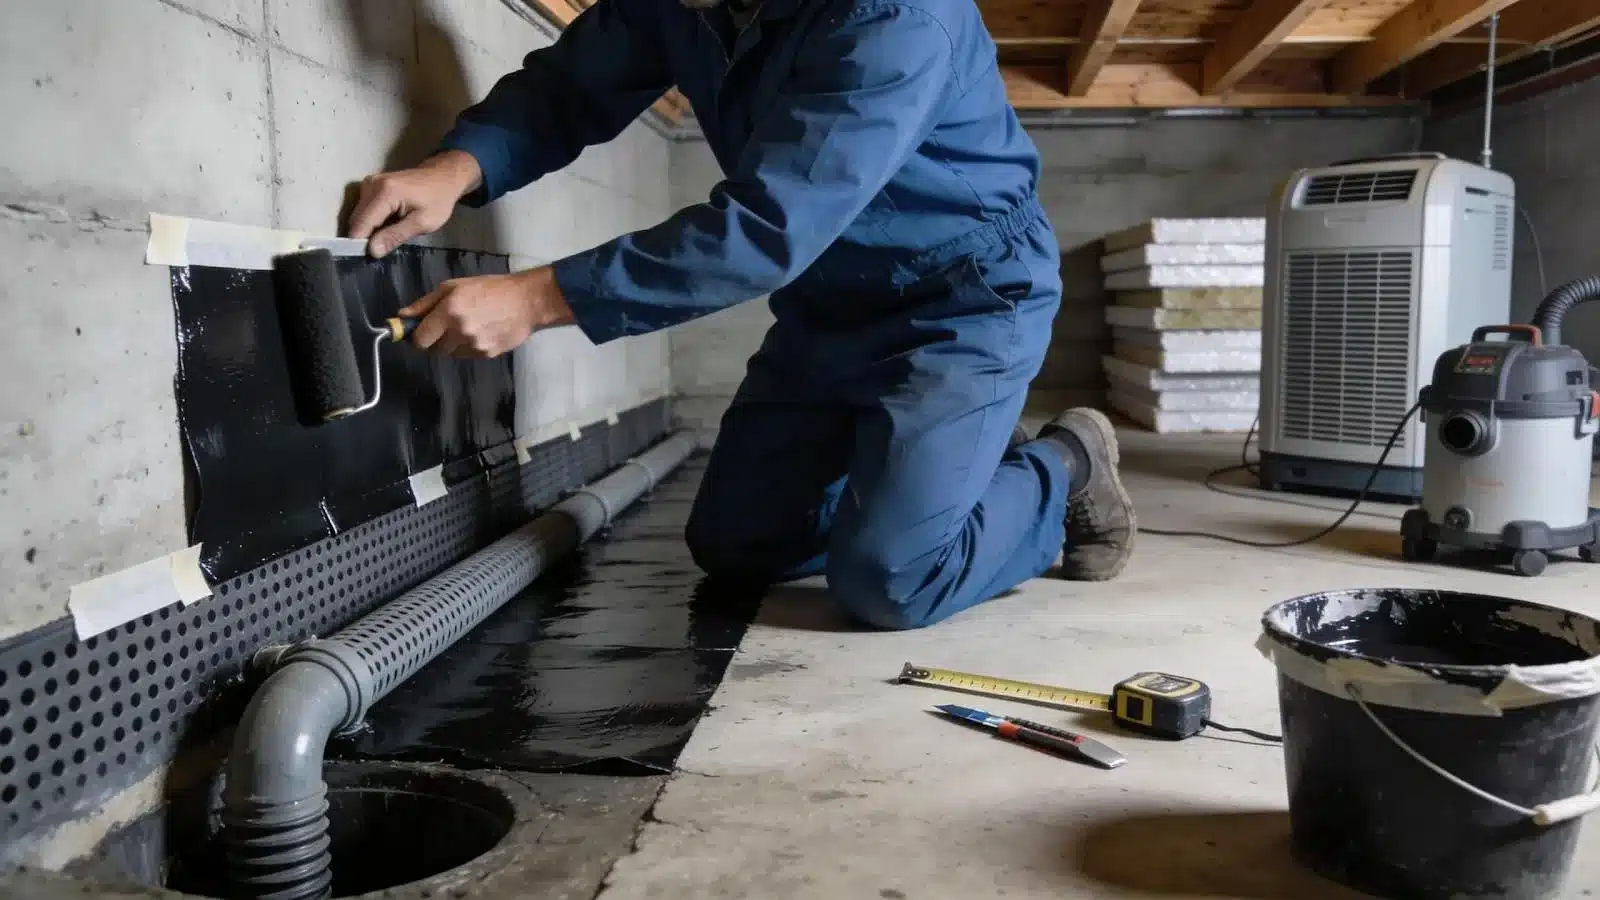
Damp proofing protects a property’s fabric and prevents moisture-related damage. Recognising the types of damp and how to address them can help reduce repair and restoration costs.
Practical DIY damp proofing methods, the right materials, long-term prevention steps, and signs of rising damp all play a role in controlling moisture and preserving a safe home. Regular checks and timely action can stop small damp problems from becoming costly structural issues.
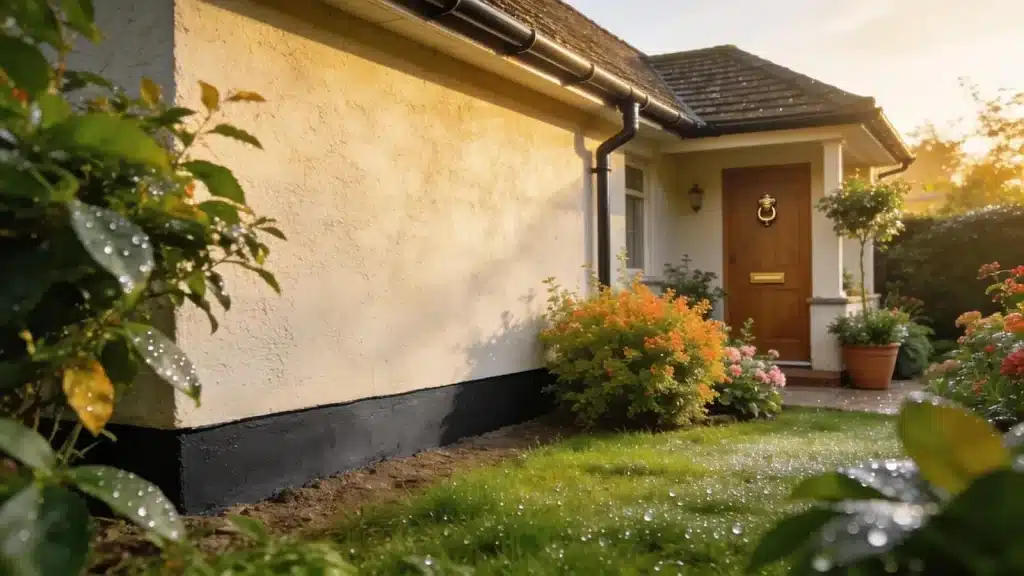
What Are The Key Types Of Damp And How Do They Affect Your Property?
Damp in buildings falls into three main categories: rising damp, penetrating damp, and condensation. Each has different causes and effects on structure and finishes. Correct identification is essential to select the appropriate remedial measures.
Identifying Rising Damp And Its Effects On Walls
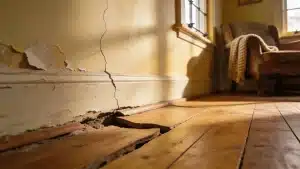
Rising damp occurs when ground moisture wicks up through masonry. It can cause peeling paint, crumbling plaster, salt deposits, and, over time, compromise structural elements. Typical indicators include damp patches, tide marks, staining, loose wallpaper, and a musty smell near skirting boards.
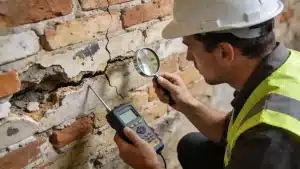
Regular inspection of internal and external walls helps you spot these signs early. Checking blocked air bricks, damaged damp proof courses, and poor drainage can also reduce the risk of moisture spreading further.
Understanding Penetrating Damp And Condensation Causes
Penetrating damp occurs when external water enters the building envelope through cracks, roof defects, or poorly sealed openings; it commonly presents as damp patches, mould, and musty odours.
Condensation forms when humid air meets cold surfaces, producing water droplets on windows and walls and promoting mould growth. Preventive and corrective actions differ: repair external defects for penetrating damp, and improve ventilation or heating to reduce condensation.
Which Diy Damp Proofing Methods Are Suitable For Homeowners?
A measured DIY approach can address some minor damp problems. Several methods are suitable depending on the type and extent of the damp; choose techniques that match the identified cause.
Step-By-Step Process Of Applying Damp Proofing Cream
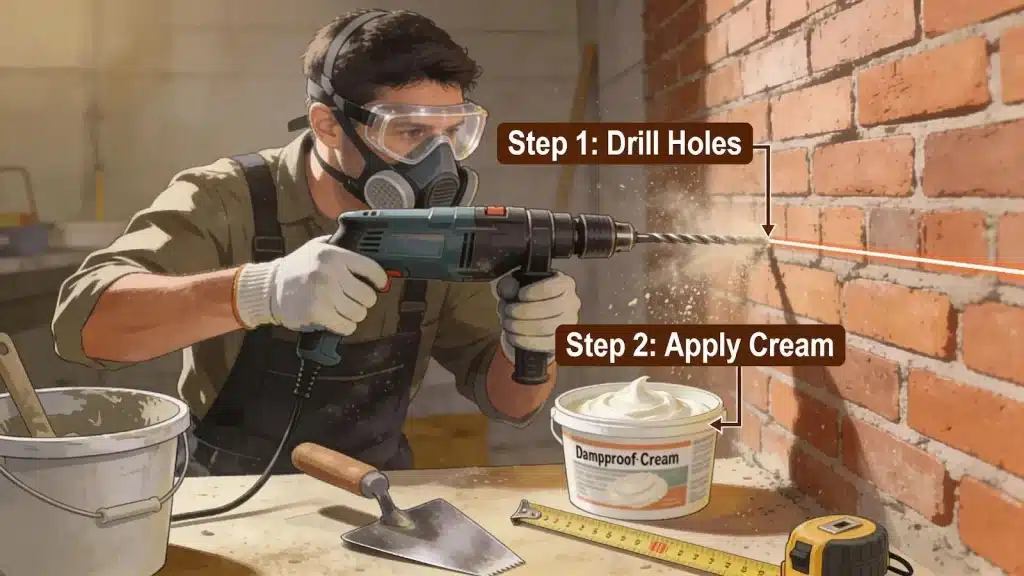
A chemical DPC injection can help control rising damp when the wall type and diagnosis are suitable. Here is a simplified guide:
- Preparation: Clear the area around the walls and assess for any existing dampness.
- Drilling: Use a masonry drill to create holes along the base of the wall. Ensure the holes are spaced and drilled according to the product instructions.
- Injecting Damp Proofing Cream: Inject a chemical damp proofing cream into the holes, following the manufacturer’s instructions to form a moisture barrier.
- Sealing: After the cream has settled, seal any holes or gaps.
- Final Checks: Monitor the walls for effectiveness after your installation, making repairs as needed and seeking advice if damp persists.
Essential Materials And Tools Needed For Damp Proofing
Prepare the correct materials and tools before starting to ensure an effective result.
- Damp proofing cream: This chemical product helps create a moisture barrier.
- Masonry drill: Used for creating holes in the wall.
- Injecting kit: This typically includes syringes or applicators for the damp proof cream.
- Sealant: Essential for sealing the drilled holes after injection.
- Protective gear: Safety goggles and masks to ensure personal safety during the process.
How To Apply Moisture Control Solutions For Long-Term Damp Prevention?
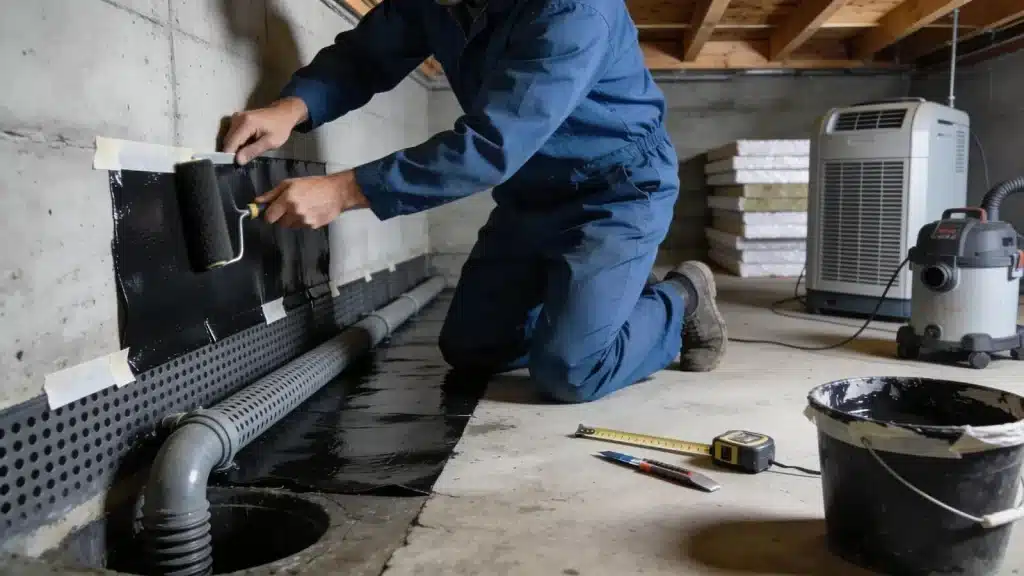
Long-term prevention depends on controlling moisture sources. A programme of practical measures can help reduce recurrence and protect both finishes and structure.
Best Practices For Waterproofing Basement Walls Effectively
Waterproofing basement walls is essential because basements sit below ground level and are more exposed to moisture from soil, rainwater, and surface runoff. Without proper protection, water can seep through cracks, joints, or porous masonry, leading to damp patches, mould growth, musty smells, and damage to plaster, flooring, and stored items.
A damp-proof membrane can be installed against basement walls to create a protective barrier that blocks moisture from passing into the living space. Good drainage is equally important, as gutters, downspouts, and external ground levels should direct water away from the foundation rather than allowing it to collect around the walls.
Regular inspections also play a key role, as small cracks, worn sealant, blocked drains, or early signs of damp can be repaired before they develop into serious water ingress problems.
Routine Maintenance And Inspection Of Damp Proofing Works
Routine maintenance helps damp-proofing treatments last longer and keeps moisture problems from returning. Property owners should inspect walls, ceilings, floors, and skirting boards regularly for early signs of damp, including water stains, mould growth, peeling paint, bubbling plaster, or musty smells.
Gutters, downspouts, drains, and external channels should also be kept clear of leaves, dirt, and debris so rainwater can flow away from the building instead of collecting near the walls or foundation.
Any plumbing leaks, roof damage, cracked render, or gaps around windows and doors should be repaired as soon as possible, as even small defects can allow moisture to enter and weaken the effectiveness of damp-proofing work over time.
When Is Professional Rising Damp Treatment Necessary?
Some minor damp-prevention tasks are manageable as DIY projects, but severe, widespread, or complex cases require professional assessment to ensure a correct and durable remedy.
Knowing When To Hire Damp Proofing Experts
- DIY damp proofing may not be enough when moisture spreads across large areas.
- Structural damage, cracked walls, or weakened plaster often require expert assessment.
- A restoration specialist can identify the root cause of the damp problem.
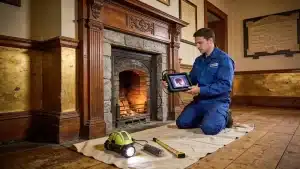
- Professional equipment helps detect hidden moisture behind walls, floors, and ceilings.
- Expert treatment provides a stronger, longer-lasting solution for serious damp issues.
Professional Damp Proofing Services For Historic Property Care
- Historic properties need sensitive damp treatment to protect original materials.
- Restoration specialists preserve the building’s character while controlling moisture.
- Careful assessment helps avoid damage to old brickwork, plaster, timber, or stone.
- Chemical damp-proofing may be used where suitable and safe for the structure.
- Structural repairs can protect the property while maintaining its traditional appearance.
Why Choose Environ Restoration Services For Damp Proofing?
At Environ Restoration Services, we offer expert damp proofing for London homes, basements, and heritage properties. Our team uses advanced diagnostic technology and breathable, sympathetic materials where appropriate to identify and treat damp at the source.
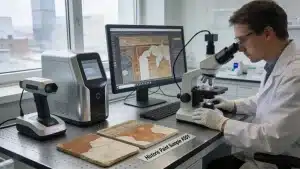
Our team focuses on accurate diagnosis, suitable treatments, and long-lasting moisture protection for a healthier indoor environment. Whether it’s a historic home or a modern build, we can recommend suitable damp treatments. We should account for the property’s materials.
Frequently Asked Questions
What Are The Signs That My Home Might Need Damp Proofing?
Damp patches on walls, mould growth, or a musty smell are common warning signs of a moisture problem. Other indicators include peeling paint, damaged plaster, and discoloured walls or ceilings. Condensation on windows or walls can be an early warning; regular inspections help detect problems before they spread.
How Often Should I Check My Damp Proofing Measures?
Inspect damp-proofing measures at least twice a year and after heavy rain or storms. During checks, look for new damp signs, cracks, or wear so you can address issues promptly and maintain a dry living environment.
What Are The Risks Of Ignoring Damp Issues?
Unchecked damp can lead to structural deterioration, mould growth, and poorer indoor air quality. Over time, it can weaken walls and foundations and increase repair costs. Prolonged mould exposure can also affect occupant health. Prompt action helps protect safety and property value.
What Should I Do If My Diy Efforts Aren’t Working?
If DIY measures do not resolve the problem, engage a professional. Persistent damp often indicates deeper issues that require specialist inspection, diagnostic testing, and targeted remediation to ensure the problem is fully addressed.